Creating Bootable macOS USB Installers

If you want to install Mojave from scratch, or you need to install it regularly or on multiple Macs, using a USB installer is the way to go for an easy installation. This method requires no third-party software, just a Mac that already has macOS installed and some basic Disk Utility and Terminal usage.
Erasing the USB Drive
Before we can put macOS on the drive, we’ll need to erase it and format it properly. Be sure you’re using a drive 8GB or larger.
- Open Disk Utility
- Click View > Show All Devices (Command + 2)
- Select the USB drive in the sidebar (not the partition!) as shown below, and click Erase (Shift + Command + E) in the header bar.
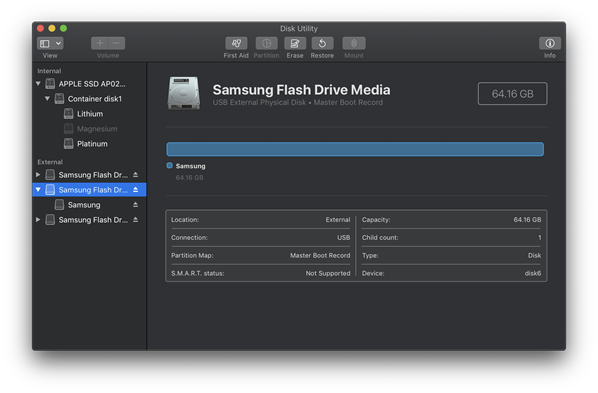
This step will erase all the data on your USB drive! Be sure you’re using a blank or disposable drive before erasing it.
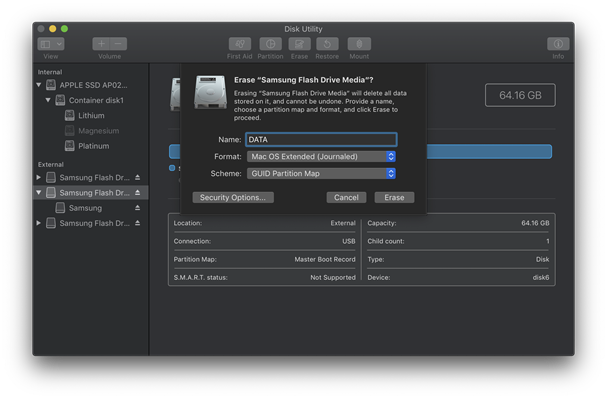
- Enter a name for your drive, choose “Mac OS Extended (Journaled)” as the format, and “GUID Partition Map” as the scheme. Click Erase.
Downloading macOS
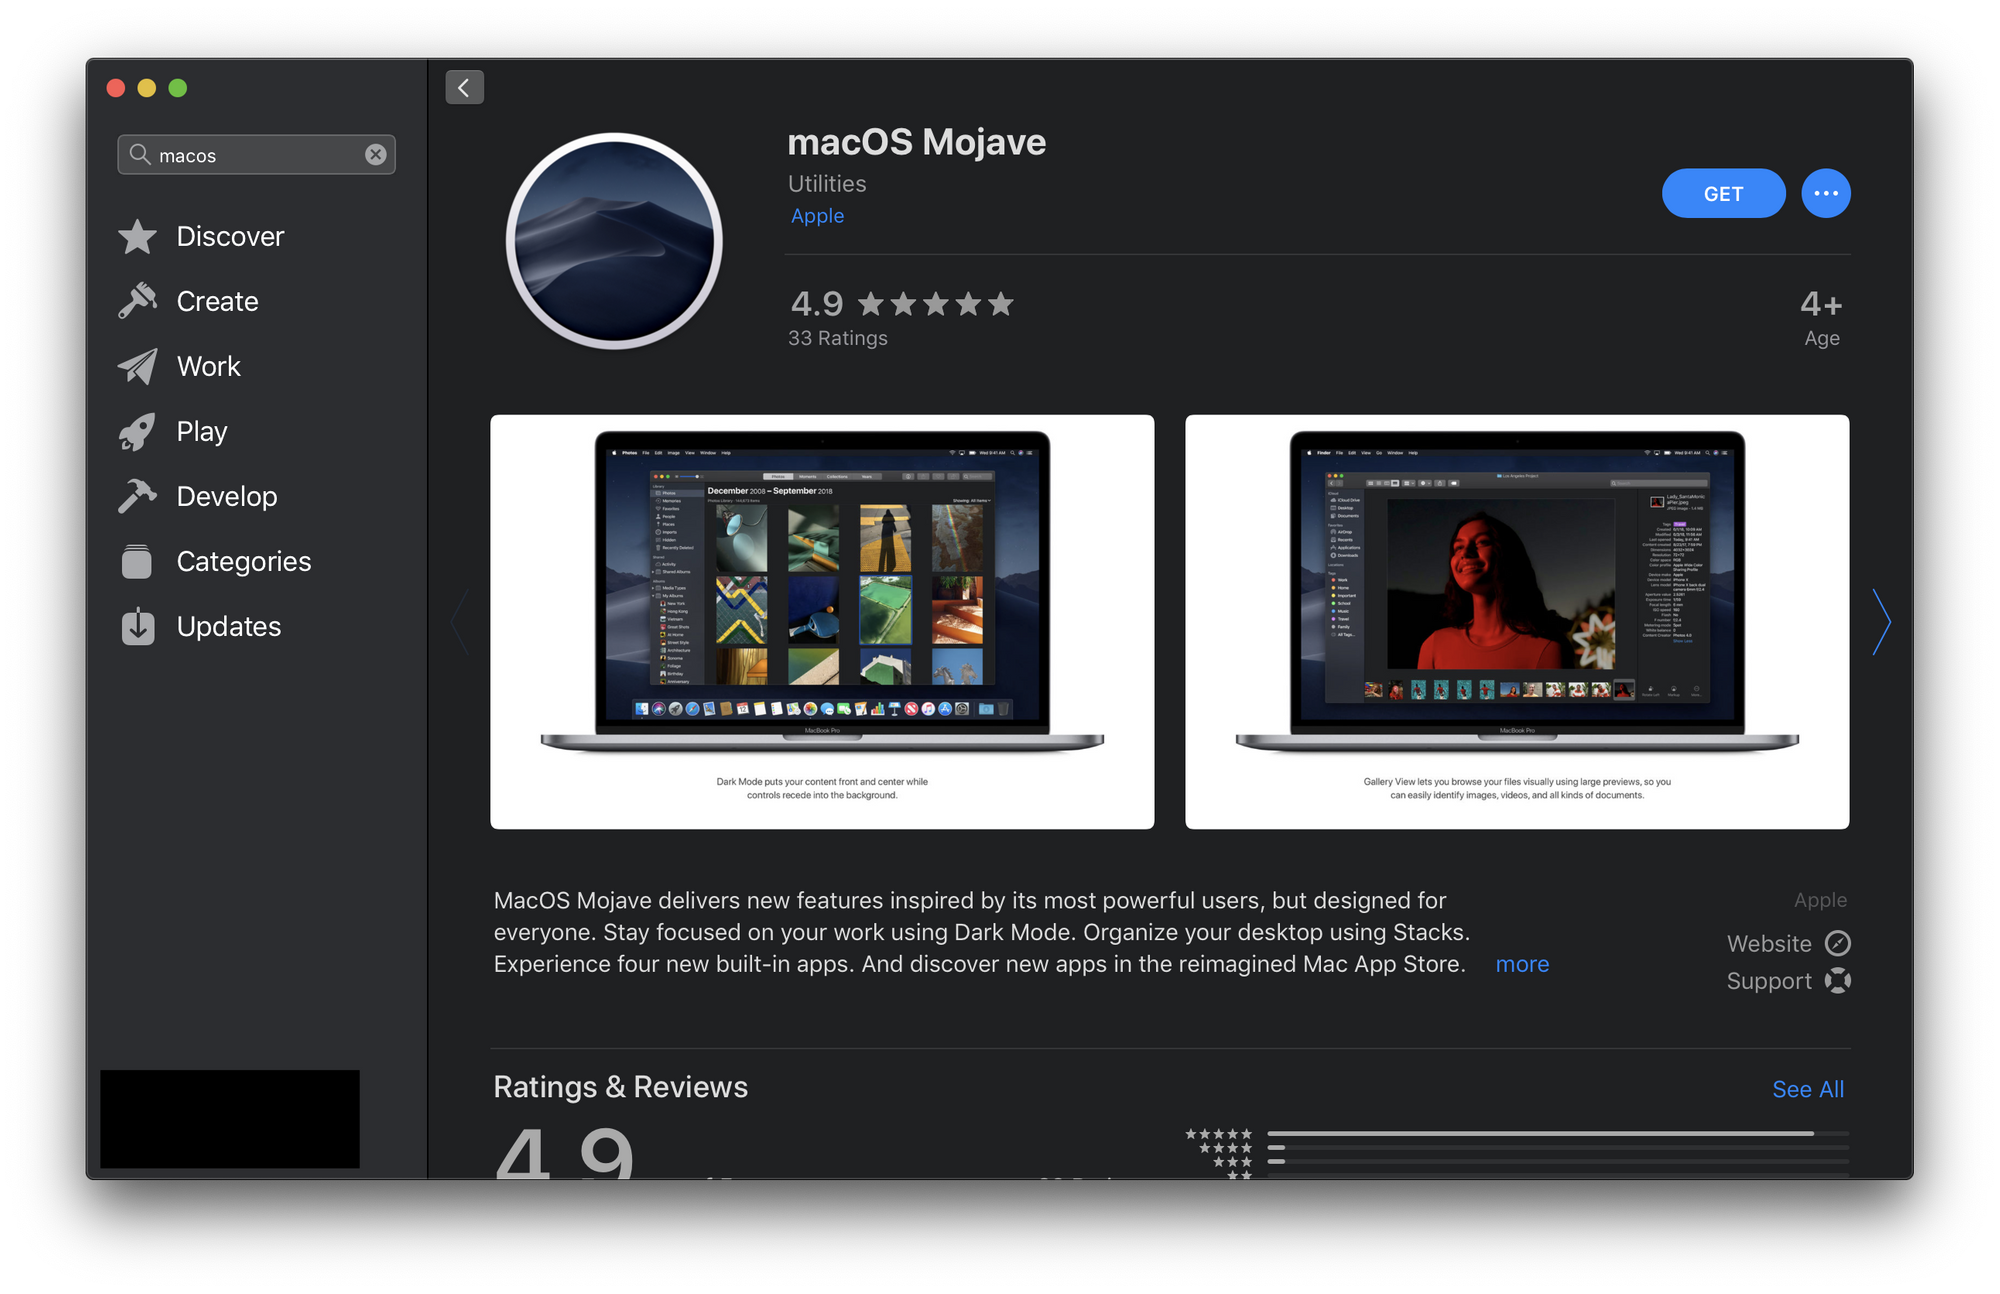
macOS can be downloaded in the App Store on any other Mac device (which you should already be using for this guide anyways).
Mojave: https://itunes.apple.com/us/app/macos-mojave/id1398502828?ls=1&mt=12
High Sierra: https://itunes.apple.com/us/app/macos-high-sierra/id1246284741?ls=1&mt=12
Sierra: https://itunes.apple.com/us/app/macos-sierra/id1127487414?ls=1&mt=12
El Capitan: https://itunes.apple.com/app/os-x-el-capitan/id1147835434?ls=1&mt=12
Installing macOS
Open Terminal and issue the following command to list all the mounted drives:
ls /Volumes/Confirm your USB drive is listed as whatever you named it. In the example above, I named mine “DATA”, so DATA is shown listed after that command. Make note of that name.
To install macOS Mojave to your USB drive, issue the following command in Terminal:
sudo /Applications/Install\ macOS\ Mojave.app/Contents/Resources/createinstallmedia --volume /Volumes/DATABefore pressing enter, replace /Volumes/DATA in the command above with /Volumes/ followed by the name of your device we just found. If your USB device was named ALPHA you’d replace it with /Volumes/ALPHA here, for example.
The command for High Sierra is similar:
sudo /Applications/Install\ macOS\ High\ Sierra.app/Contents/Resources/createinstallmedia --volume /Volumes/DATAAgain, replacing DATA with your own USB information.
The commands for Sierra and El Capitan are slightly modified:
sudo /Applications/Install\ macOS\ Sierra.app/Contents/Resources/createinstallmedia --volume /Volumes/DATA --applicationpath /Applications/Install\ macOS\ Sierra.appsudo /Applications/Install\ OS\ X\ El\ Capitan.app/Contents/Resources/createinstallmedia --volume /Volumes/DATA --applicationpath /Applications/Install\ OS\ X\ El\ Capitan.appNote these include the --applicationpath flag with the path to the downloaded installer repeated.
If you are creating your USB drive on a Mac using Sierra or earlier, and you are creating a Mojave or High Sierra USB installer, you must include the --applicationpath flag in the same way it’s shown for the Sierra and El Capitan examples.
Booting Up
That should be it! To use your installer, turn on the Mac you’d like to install macOS on, and immediately hold the Option key to display the startup boot manager:
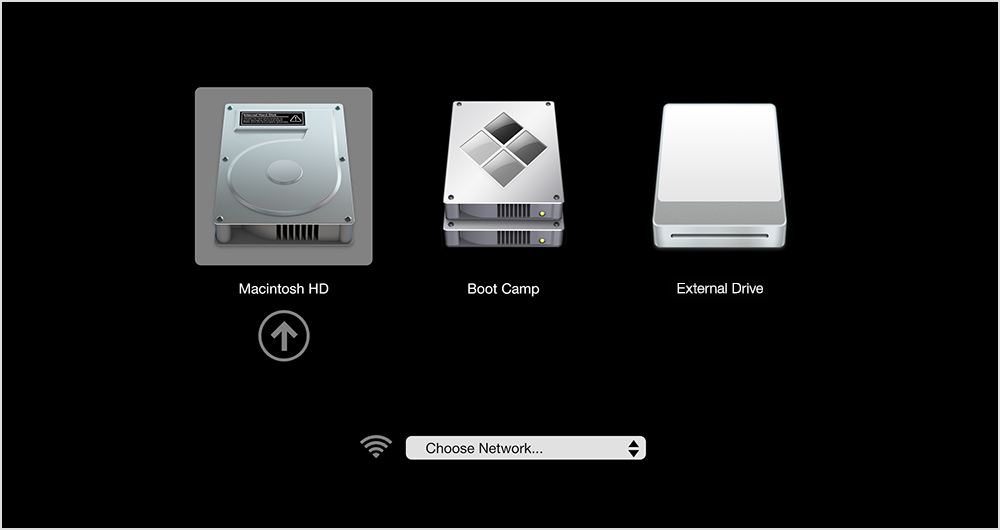
Then, navigate to your USB drive with the arrow keys and press enter to boot.
I hope you found this guide helpful! If there’s something you feel I missed, please feel free to reach out and let me know.